

How to Install the IronOx Vent Scrubber in Under 10 Minutes
- angelob25
- Nov 4, 2025
- 2 min read
Updated: Dec 4, 2025

Installing the IronOx Vent Scrubber is one of the fastest ways to gain control over hydrogen ulfide (H₂S) odors in municipal wastewater systems. Operators and maintenance teams don't have time or resources for complex systems; that’s why IronOx was designed with field realities in mind.
Why Installation Matters
In wastewater systems, odor control isn’t optional; it’s required. But many traditional scrubbers require electricity, blowers, and plumbing. These systems take time to install, cost more, and require ongoing maintenance. IronOx solves that with a completely passive, and no electricity required approach.
Tools Required
A wrench is needed; no screwdrivers or sealants are required. If your vent stack is compatible (and 90% are), installation is as simple as lift, place, and go.
Installation
Unbox the Unit
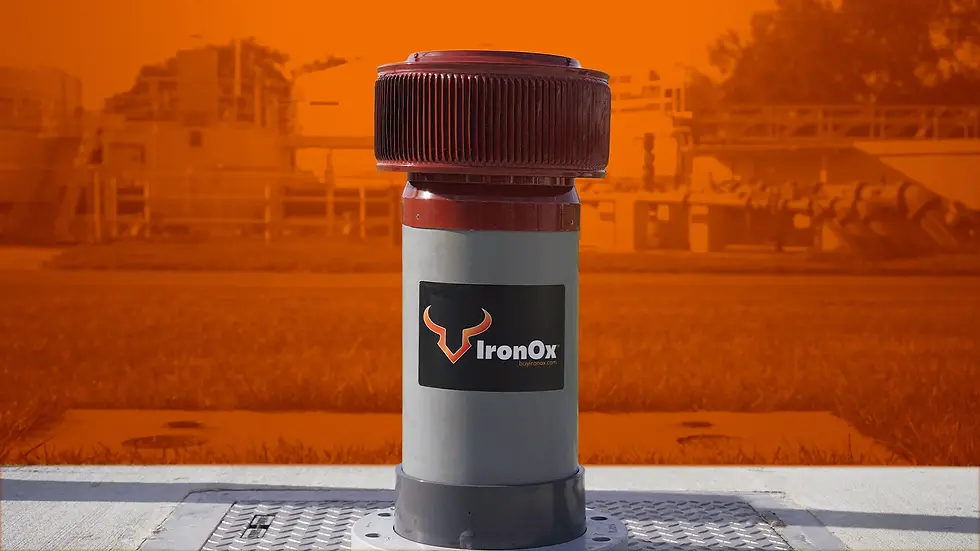
Your IronOx unit arrives fully assembled. You’ll receive the PVC housing, vent cap, internal screen, flange, gasket, and a full charge of Brimstone™ media sealed inside.
Locate the Vent
Identify the exhaust vent, stack, or outlet where odor is escaping. These are usually found on lift stations, pump stations, manholes, septic systems, or tanks.
Place the Gasket
Place the provided Gasket onto the vent pipe or flange surface. This creates an air-tight seal to prevent leaks or bypass.
Mount the IronOx Unit
Set the scrubber on top of the flange and bolt it down
Activate Odor Control
That’s it. Once mounted, air passing through the vent is filtered through Brimstone™ media, which begins neutralizing H₂S immediately. There’s no switch to flip; the chemistry does the work.
Once installed, the system runs without intervention until the media needs to be replaced, usually every 6 to 8 months.
Average Install Time
7–10 minutes
Pro Tips
Use a level to ensure proper airflow.
Avoid overtightening; the gasket creates a reliable seal on its own.


Comments